How to upload your signature
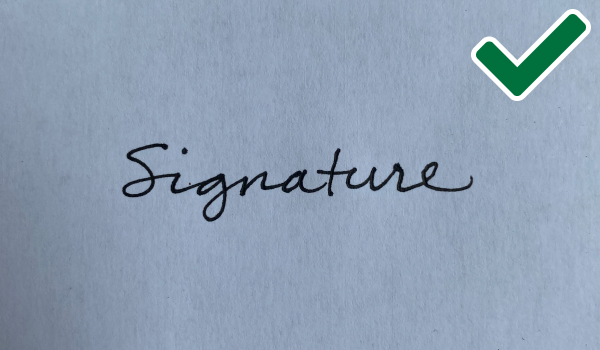
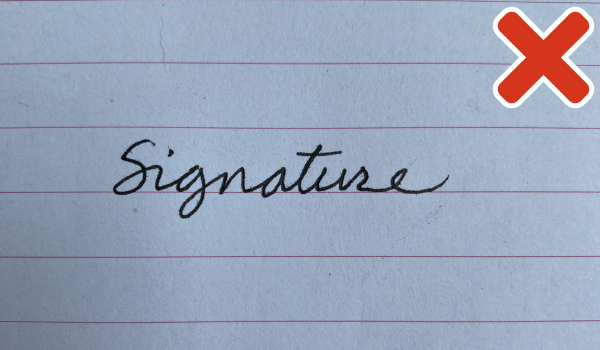
1. Sign your name in black ink on plain white paper
Steps for signing
-
Sign your name in black ink on plain white paper.
Do not use:
- coloured inks
- coloured paper
- paper that’s creased
- paper with lines, squares or patterns
- Check that your signature looks how it normally does.
- Make sure all of your signature is on the paper.
2. Create an image of your signature
Steps if you’re using a phone or camera
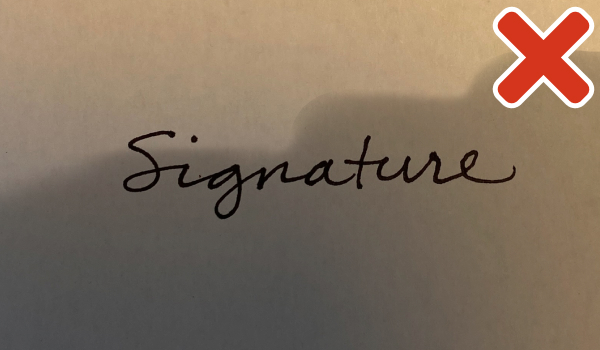
- Find a well-lit area so there’ll be no shadows in the picture.
- Hold your phone or camera above your signature so all of it is captured.
- Move in (if you need to) to get rid of anything showing around the edges, for example your desk.
- Take your photo and check it meets the requirements below.

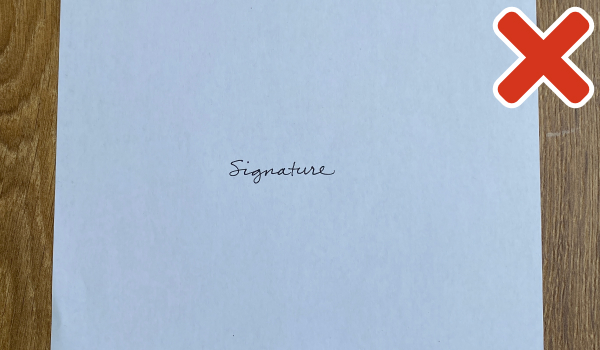
Steps if you’re scanning your signature onto your computer or laptop
- Take a scan of your signature.
- Check the picture meets the requirements below.
3. Check your signature image meets these requirements
Your image should be:
- in focus
- without smudges or shadows
- without anything showing around the edges, for example your desk
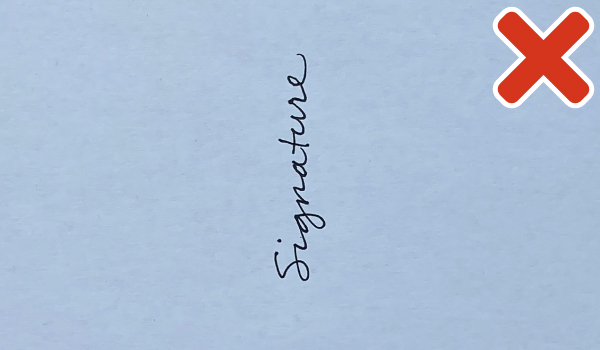
- the right way up
- no larger than 20MB
4. Save or transfer image to the device you’re applying on
Save it in a place that’s easy to upload it from.
5. Upload your image in the service
When you get to the ‘Upload your signature’ screen:
- ‘Drag and drop’ your image into the box or ‘Choose a file to upload’ and select it from your device.
- Select ‘Continue’. You should see an image of your signature. Check that it meets the requirements.
- Submit your image or cancel and upload another one if it is not right.
After uploading, your signature will be stored securely.
If you cannot upload an image, download, print out and fill in a proxy voting application form. Send it to your electoral registration office.